Dear Community,
Are you curious to know what the Top 3 Questions asked by our customers to our Service Teams in the last month? We have collected them here, along with the detailed answers to each questions, with the help of our awesome team behind the Help Center.
In order to view the answers, just click on “Show content” under each question.
How do I upload multiple documents for multiple employees simultaneously?
Here is how to perform a multiupload of employee documents directly to your employees' Personio accounts.
In three steps, upload multiple documents to Personio simultaneously and assign them to employees and document categories.
 For documents to be assigned to the right employee profile automatically, including the document category and date, use one of the following formats for the document file name:
- Firstname_Lastname_Category_ddmmyyyy or
- Firstname_Lastname_Category_dd.mm.yyyy or
- Personalnummer_Firstname_Lastname_Category_ddmmyy or
- Personalnummer_Lastname_Category_dd.mm.yyyy or
- Personalnummer___Category_ddmmyyyy (instead of the first and last name, 3 underscore characters are inserted) or
- Personalnummer___Category_dd.mm.yyyy (instead of the first and last name, 3 underscore characters are inserted)
 If you would like to include additional details in the file name, make sure you add them after the date. For better readability, insert another underscore character after the date; for example:
Personalnummer___Category_dd.mm.yyyy_additional_details
If you are using Personalnummer as the identifying attribute, make sure the corresponding attribute has been named in the same way as in one of the following options:
- Mitarbeiter ID
- Personalnummer
- Employee ID
- Employee Number
File names can also be in the format Firstname Lastname, Firstname_Lastname or Personalnummer. However in that case, only the employee will be assigned automatically. The document category and date have to be defined manually.
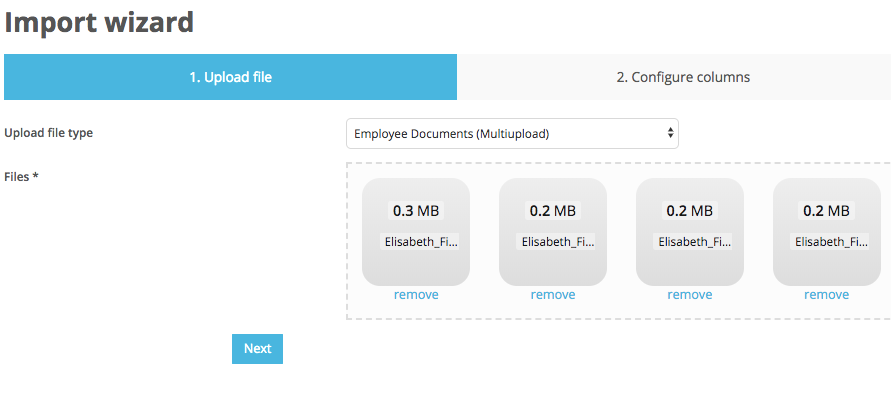
Uploading the file
Under Imports, select file type Employee documents (Multiupload). Upload all of the desired documents or drag-and-drop them into the Files field and click Next. Up to 100 documents can be uploaded simultaneously with each import.
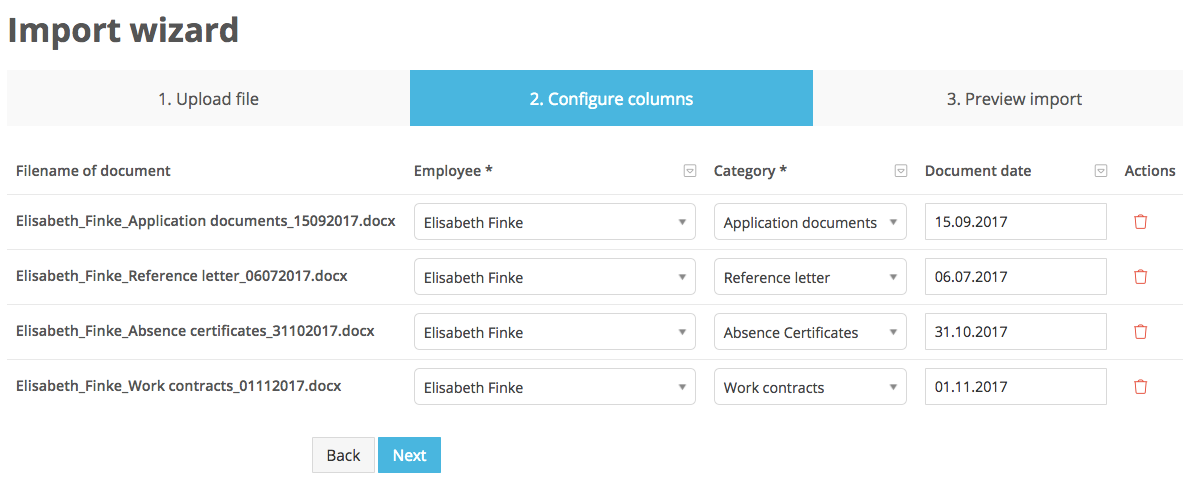
Configuring the columns
If you are not using the automatic assignment function based on file names, assign the desired document category to the documents and, if applicable, edit the document date. The documents then, too, are assigned to the respective employees automatically via the file name.
You also have the option of doing a bulk assignment by using the arrow symbol. This allows you to, for example, assign a specific employee, a category or a document date to all of the documents at once.
Documents that have been uploaded incorrectly can be removed again via the column Actions.
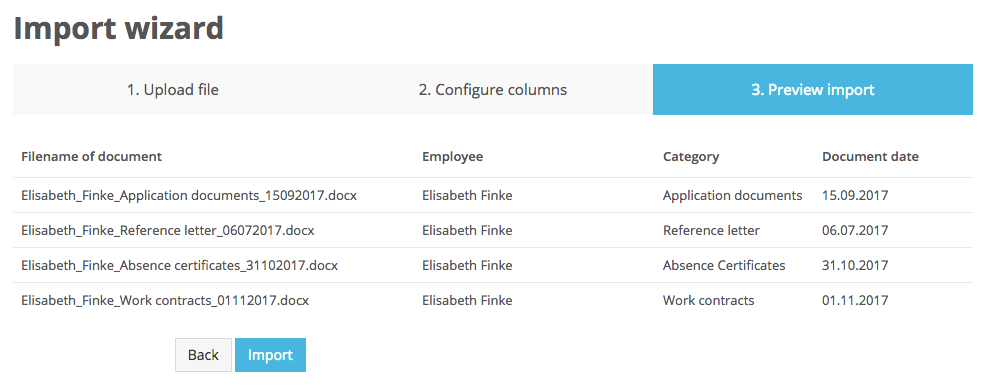
Previewing the import
In the third and last step of the import process, you have the opportunity to review the selected documents and how they will be assigned.
Documents in the employee profile
After the import, the uploaded documents can be viewed in the employee profile under the Documents tab and their respective category:

How do I integrate an Authentication Provider in Personio?
1. Google Single Sign-On (SSO)
If Google Single Sign-On is activated, all employees whose Google-based email addresses are stored in their employee profiles in Personio can log in via Google authentication.
You can activate Google SSO with a single click in the Settings under Authentication > Google Auth.
When your employees launch Personio, they will see the following view, which allows them to log into Personio by simply clicking on Login via Google.
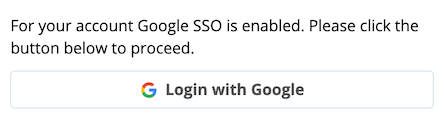
Please note that it is best to activate Google SSO only after your account has been fully implemented, as your employees will be able to log into Personio from the time SSO is activated. Access to their accounts is then controlled via Google.
2. OAuth 2.0
Personio supports login via the OAuth 2.0 protocol, which provides for secure, standardized management of access to applications. Please work with an IT administrator to implement this type of authentication.
Set up the OAuth 2.0 login directly in Personio by clicking on Settings > Authentication > OAuth 2.0. You will need the following data for authentication:
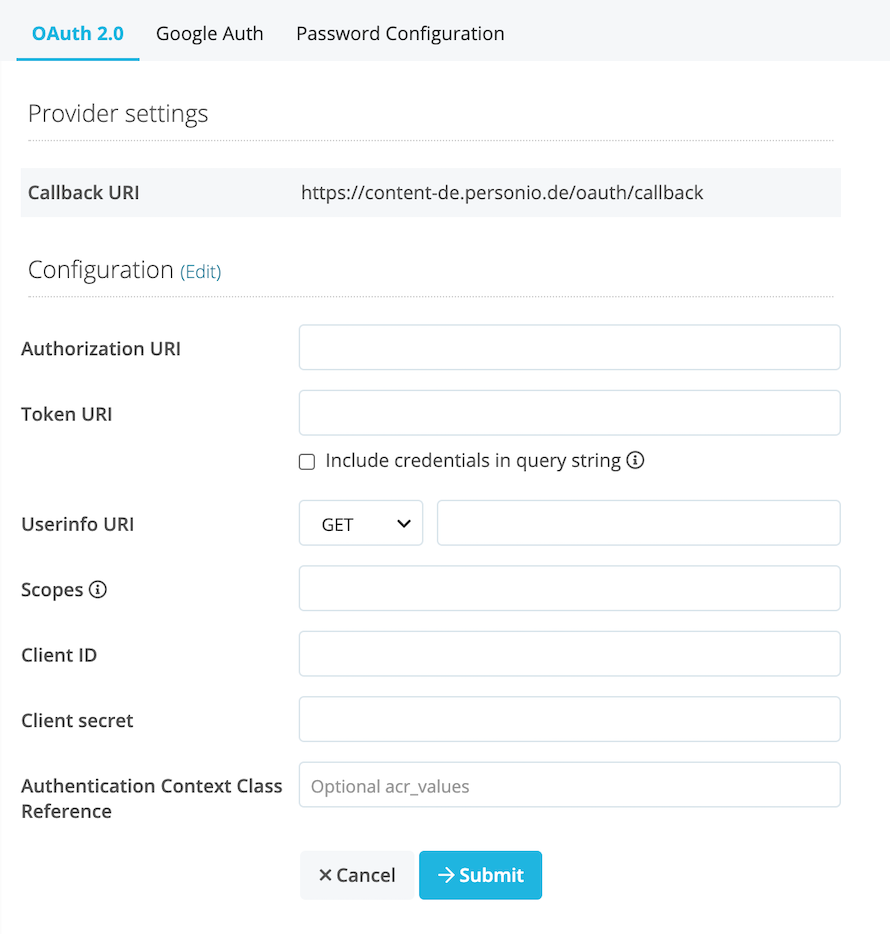
Note that completing the Authentication Context Class Reference Values (acr_values) field is optional. This can be used to set up additional processes for your identity provider, such as two-factor authentication.
When setting up Login via oAuth in Personio, you need to enter the "scope". Within the scope, one of the following fields needs to be transferred: "email", "unique_name" or "sub". This field needs to contain the e-mail address of the user trying to log in. Note that the user's e-mail address must be identical to the e-mail address stored in their Personio profile.
Once you have entered all the data into the corresponding input fields and saved your settings, you will need to configure a redirection to the Callback URI for your account. You'll find this in the Provider settings.
You will also need to whitelist the following callback URL as a client with your oAuth provider in order to use Login via oAuth with the app: https://auth.personio.de/providers/oauth/callback.
Click on Test configuration to verify that authentication has been set up successfully.
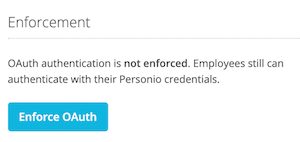
Login via OAuth is initially optional. Your employees can choose whether they wish to log into Personio using their Personio access data or via OAuth. If you want to make login via OAuth mandatory for all employees, activate this setting by clicking on the relevant button in Enforcement.
3. LDAP/Active Directory via OAuth2
If you wish to integrate your Active Directory, you need to implement this option via an identity provider, which serves as an OAuth interface between your Active Directory and Personio.
The WSO2 Identity Server is a good choice of tool for identity and access management. It can be downloaded free of charge here: http://wso2.com/products/identity-server/.
If you are already using one of the following providers, you can also implement your OAuth integration through them:
- Auth0 (href="https://auth0.com/"target="_blank" rel="noopener">https://auth0.com/)
- Onelogin (https://www.onelogin.com/)
- Okta (https://www.okta.com/)
Please work with an IT administrator to implement this type of authentication.
Do you have sample emails that we can send to candidates?
Yes, we do! Here are some sample emails that you can download:
Englischsprachige Vorlagen
- Application received
- Invitation telephone interview
- Invitation personal interview
- Rejection after application
- Rejection after telephone interview
- Rejection after personal interview
- Offer
Click here to learn how to create email templates.
We hope this was useful!
Let us know in the comments if you have any feedback or more questions.
Best,
Daniele